Overnight English Muffins is a quick & easy way to get deliciously fresh baked bread on the table just in time for breakfast, all while making as little of a mess as possible.

If you've been to brunch at my place you know I'm a tiny bit obsessed with everything Eggs Benedict or Eggs Royal. In my opinion, that's really all you need for a delicious brunch. Oh, and a nice Bloody Mary and/or Mimosa, of course. But I guess that goes without saying. I had mastered (or well, at least learned how to reasonably well execute) the difficult parts - poached eggs and hollandaise sauce - several years ago, and so the only part left to master was the English Muffin.
This I thought, a few months ago, would be the easy part. Suffice to say, I was wrong.
Let's just say I've had a lot of English Muffins this fall. As have my friends. And my freezer is now full of them. Not too sorry about this but still, this was a challenge I was not really prepared for.
Because while the basic recipe for English Muffins is simple enough, I didn't want to settle for "simple enough". I wanted "really simple", period. No cryptic instructions or unnecessary steps. I also wanted to be able to make these for breakfast without spending several early morning hours in the kitchen. I mean, seriously? Am I the only one who's starving when I wake up after sleeping in on a Sunday morning? No way I can wait for several hours for the dough to rise!
The third criteria for my perfect English Muffin recipe was that it couldn't be too messy. I mean, you're talking to the girl who had her dad do all messy baking stuff (prime example: kneading dough) until she was, well, let's just say old enough to be moved out without a dad to call on. And even then I didn't make anything that demanded getting dough all over my hands for several years.
I have since evolved and I can now stand it once in a while - but still. Getting my hands all dirty and doughy once for a batch of bread might be OK, more than that definitely isn't.
So, in short, I came up with three criteria for the perfect English Muffin recipe:
- Super easy with minimal instructions
- Freshly baked English Muffins in the morning without getting up at 5 am
- If hands need to get dirty and doughy, this can only happen once

So, did I succeed you ask? Why, thank you for asking! Yes. Yes, I do actually believe I did. Let's check the criteria just to make sure.
Simple? Yep. No unnecessary steps in this one. The process might be a bit too simplistic for a baker (so I'm not gonna run it by one), but the end result is beautiful and delicious.
Getting up at 5 am? Well, only if you want to have breakfast at 5.45! Baking fresh bread in the morning will always take a bit of time, but proofing the dough overnight makes the whole process so much quicker. Added bonus: the long proofing time gives the bread so much more flavor! I really don't think I'll ever proof bread any other way again.
Messy hands only once? Oh yeah. This was the final touch for this one. Everything day 1 can be done without getting your hands dirty, and so, I can stand getting a bit of dough on them on day 2.
 And so, after getting cooked in my kitchen about once a week lately I now leave it up to you. Try it, tweak it, love it! Did you make it? Please tag me on Instagram and show me your creation!
Oh, and before you go... I'd love for you to leave me a comment or review below and let me know what you think of this recipe!
Recipe

Overnight English Muffins
Print RateIngredients
- 1⅓ lb flour + more to bake
- 2 tablespoon sugar
- 2 teaspoon dry yeast
- 1¾ cup milk heated to 98°F (37°C)
- 4 tablespoon salted butter
- 1 teaspoon salt
- 1 large egg, beaten
Instructions
Day 1 (about 10-20 min)
- Mix the dry yeast with the flour and sugar, in a bowl large enough to fit all the ingredients. If you have time, let it sit for 10 minutes.
- Mix in the butter and salt with the lukewarm milk, stir until butter has melted completely.
- Add the butter and milk mixture together with the egg to the flour. Mix well, for a few minutes. When finished the dough should be quite soft and wet, but coming away from the sides. When lifting up a piece of the dough it should be noticeably stretchy. If not, mix some more.
- Shape the dough into a rough ball and cover with a kitchen cloth. If you have time, let it sit in room temperature for about 30 min before placing it in the fridge for 8-12 hours.
Day 2 (about 10 min prep + 20 min resting + 15 min cooking)
- Bring out the dough and make sure it has risen properly, it should have about doubled in size. If it hasn't risen enough, let it sit in room temperature until it has.
- Place a baking sheet on the oven tray and pour over a little bit of flour.
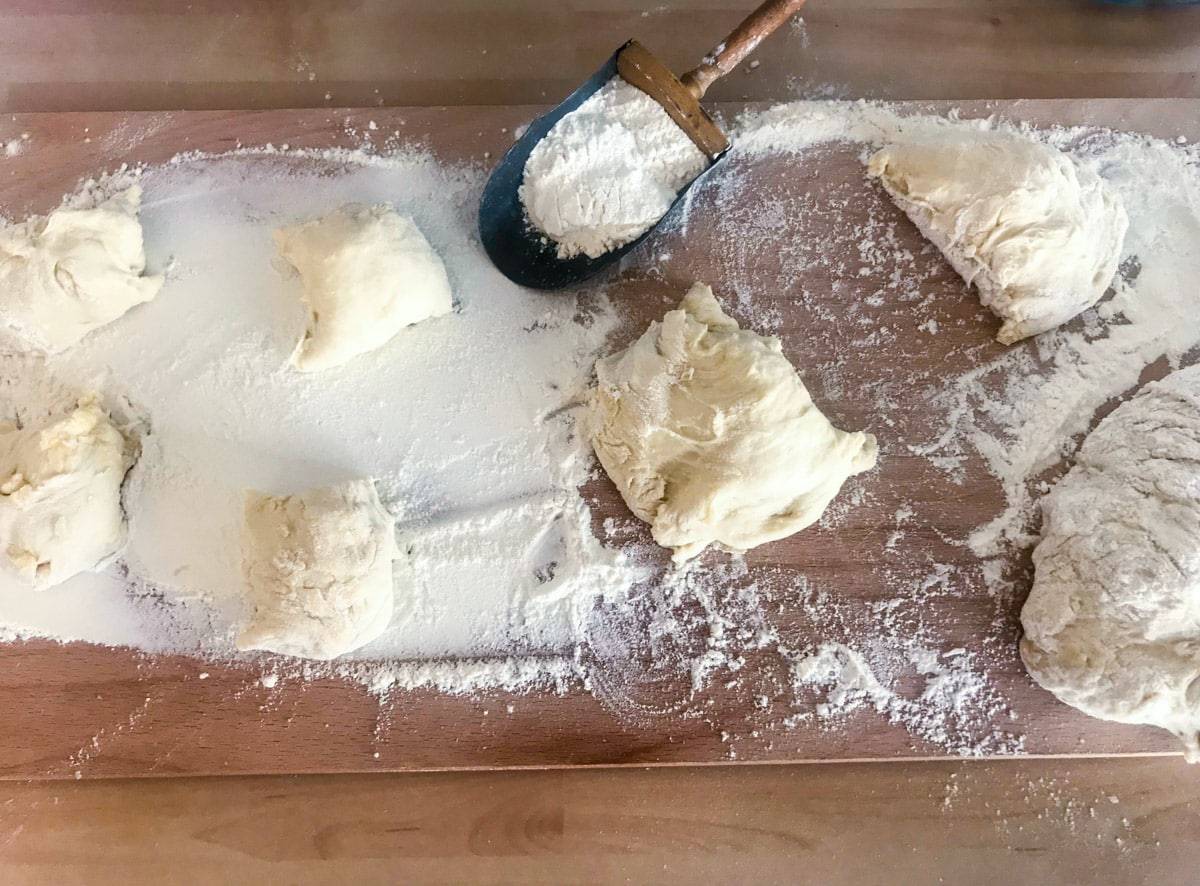
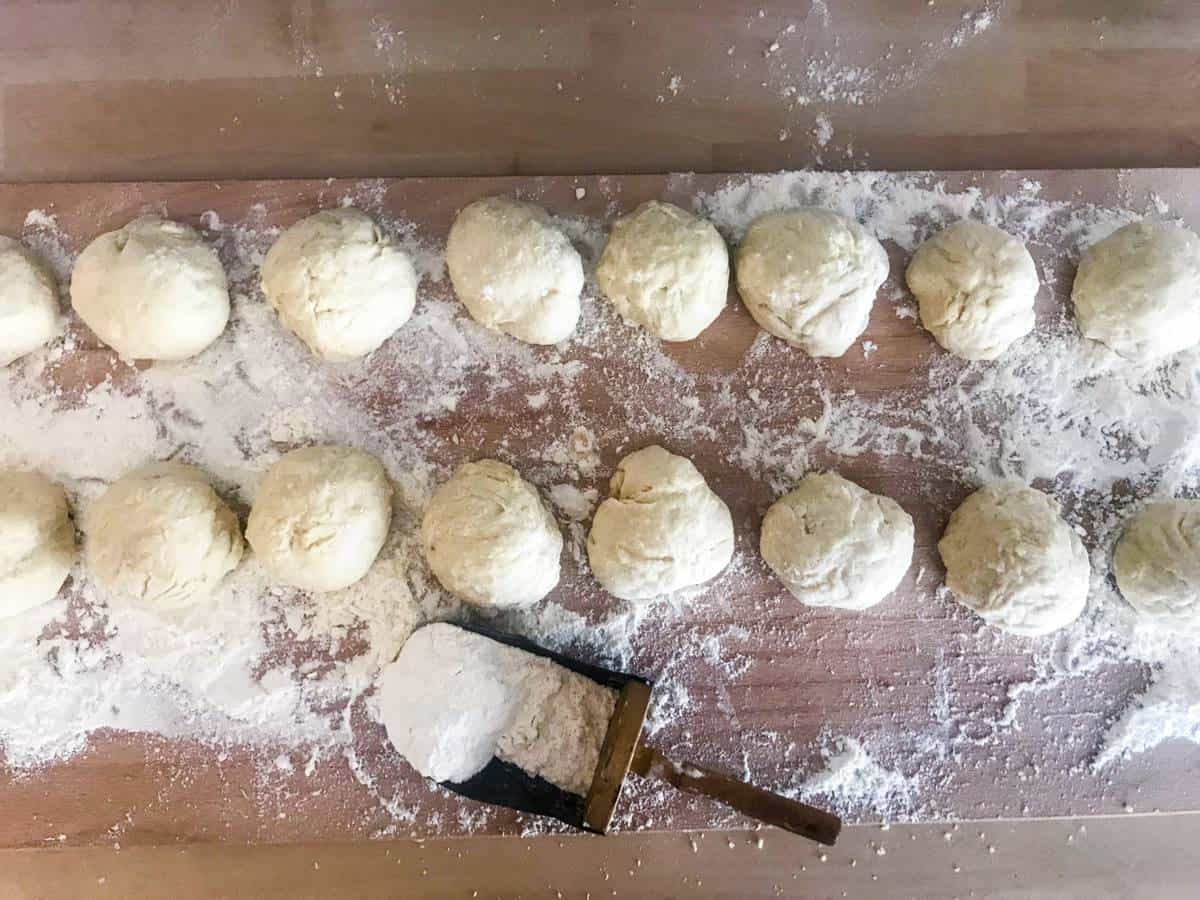
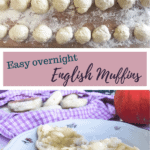
- Pour some flour on another clean surface and place the dough on it. Divide the dough into 16 equally sized pieces. Knead each one slightly and form into a ball. You may need to add a bit of flour to the dough for this. Place each ball well spaced out on the baking sheet.
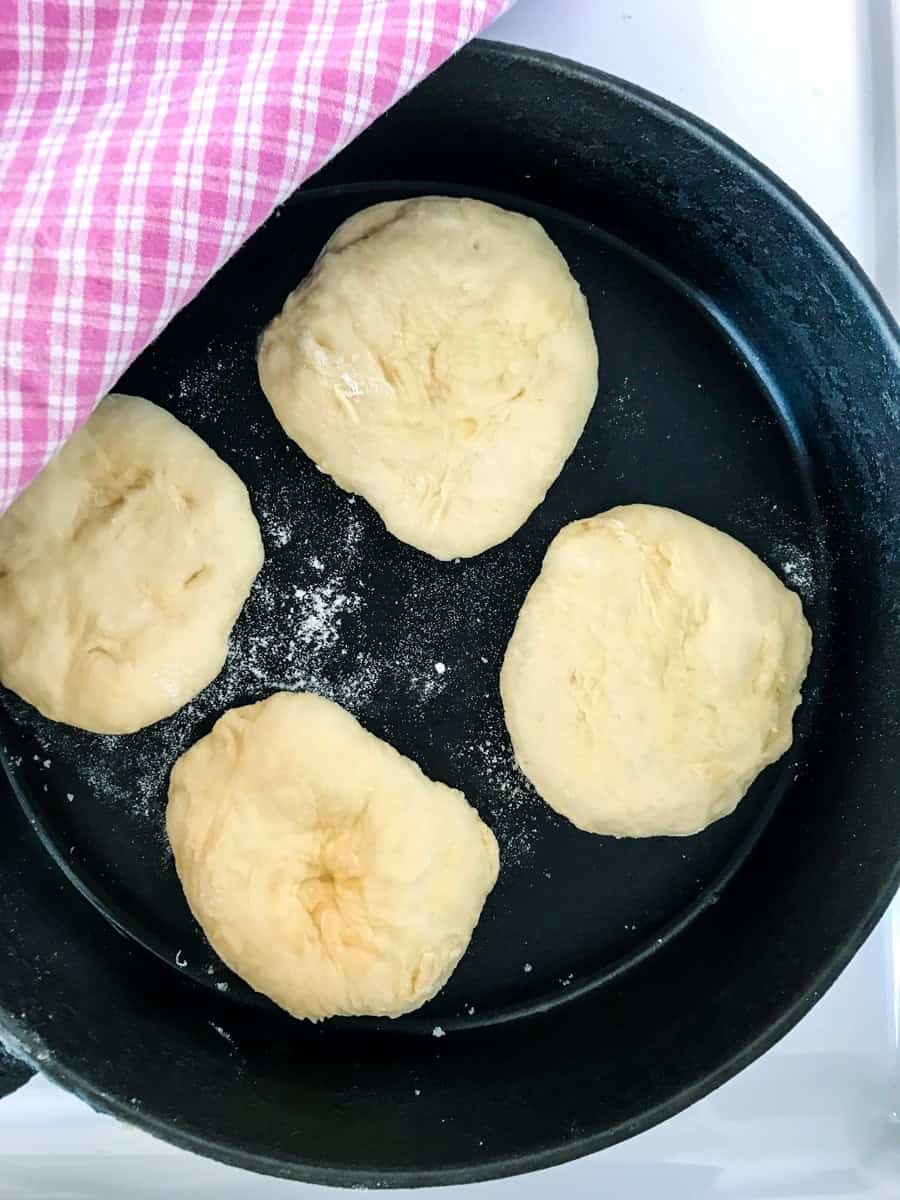
- Using your fingers or a flat spatula or other utensil with some flour on, gently flatten each ball until it's about 7.5 cm or 3 inches in diameter. Place a kitchen cloth over the muffins and let them rest for about 20 minutes.
- Now set the oven for 175 C/350 F.
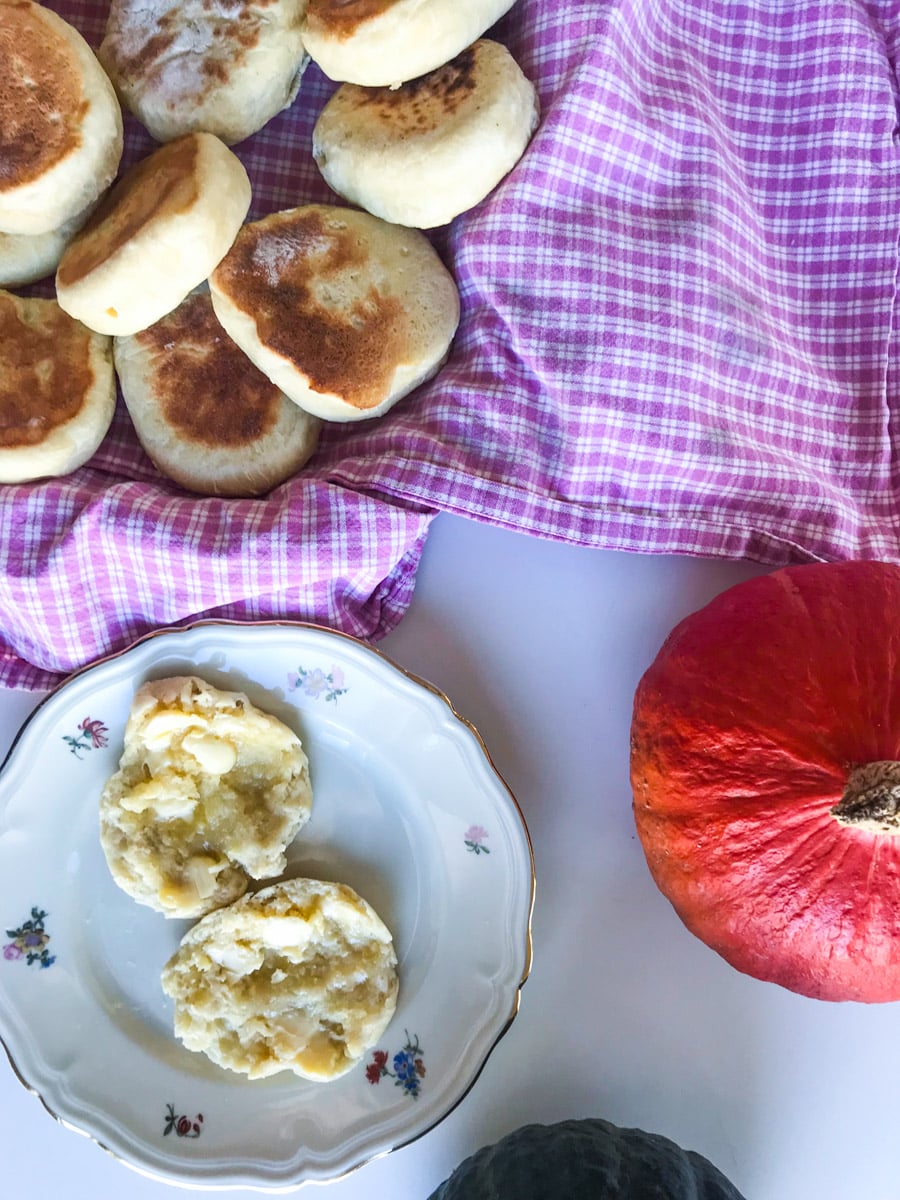
- After they have rested, place your pan (or several pans) over medium to medium-high heat, depending on your stove. When hot, add the muffins and let them cook until they have a nice golden color - about 1-2 minutes per side. When finished, place them back on the oven tray.
- When all muffins have a nice color, place the oven tray in the middle of the oven and cook for about 10 minutes until cooked through. If you have a thermometer this is perfect to use, they should be 93 C/200 F in the middle when done.
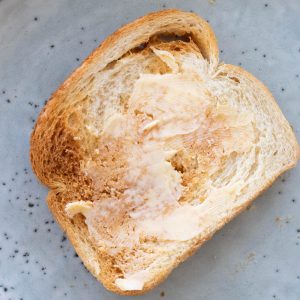
- Take out the muffins and let them rest for a minute or two before serving. Serve as part of Eggs Benedict or Eggs Royal, with just butter, or in any other way you desire. Place the remainders in the fridge and you have breakfast next weekend as well.
Notes
- If for some reason you'd rather not let them proof overnight, just add a bit more yeast and let the dough rise in room temperature - this should take about an hour.
- Instead of using the oven you can finish cooking the muffins in the pan - this takes about 7 minutes per side. Just turn the heat down to medium or medium-low and keep a close look at the color of the muffins so that they don't burn.
Nutrition
Nutritional information is approximate and automatically calculated, and should only be viewed as an indication.
Great tools for baking
[shop-page-wp category='Bread']
Make Breakfast Time Even Better
[shop-page-wp category='Breakfast']




Darby
What is the purpose of letting dry ingredients sit for 10 minutes in step one? Are the yeast and flour doing anything in the absence of liquid?
Emmeline Kemperyd
Hi Darby! For the yeast I use this is recommended, but I can't find any information on why or what it actually does... So unless your yeast says to do this, you can skip it. And I'm adding updating this recipe to my to-do list 🙂 /Emmeline
Eric
My mother passed away five years ago today. On the anniversary, each year I make a homemade version of her favorite breakfast “Sausage Egg McMuffin”. This year a couple of family members had an early CPR class and I wasn’t sure how I was going to make the English muffins fresh in time for them to eat before they left this morning. So instead of my usual labor intensive recipe I looked up “overnight English Muffins”. Your recipe stood out to me, especially after reading how and why you came up with the recipe. I was a little anxious, I always am when trying a new recipe instead of ones I’m comfortable with. My worries were unfounded, they came out great!! The overnight proofing did add flavor and made the morning so much easier. They were perfectly cooked, soft and delicious. You saved the morning and would have made my Mom proud.
This will be my new go to recipe for now on. Thank you for such a great recipe! I't seems can't upload a picture here so I will also share on Instagram.
Emmeline Kemperyd
Hi Eric, thank you for your wonderful comment. I'm so sorry to hear about your mom, but it soounds like you've found a great tradition to celebrate her memory. Happy my recipe could be a part of making that celebration a little bit easier this year. All the best! /Emmeline
Cindy
I was so excited to find an overnight recipe for English muffins! The taste and appearance of the muffins is great. However, I found that baking the muffins took three times as long as stated, and cooking them on the stove top nearly four times as long. Not much of a time saver i. The morning after all. Did I do something wrong?
Emmeline Kemperyd
Hi Cindy, sorry to hear that! If they took four times longer to brown stove top, then I would suspect you had them over too low temperature. They don't need to finish stove top, you just want them to get that nice golden color. As for baking, that is most likely related to your oven. Some ovens run hotter or colder, but 30 minutes to bake sounds very long regardless. Did you follow the temperatures stated and check when they were done with an instant read thermometer? /Emmeline
Tom Kennedy
Great recipe! The overnight fermentation and combination of stovetop/finishing in the oven made the recipe much less hassle than ones I've done before. Also, a big thank you from a non-US baker for putting measurements in both US and metric. The recipe coped well with being halved (apart from the egg).
Emmeline Kemperyd
Thank you, Tom! So happy to hear you liked the recipe!